# jvmti介绍和开发
本篇文章将介绍一下JVMTI的基本功能,并开发一个简单的JVMTI工具。
# JVMTI是什么
JVMTI是JVM Tool Interface的缩写,即JVM的工具接口。 通过JVMTI可以用来实现profiling性能分析、debugging、监控、线程分析、覆盖率分析等工具。 接口提供的功能分为几大类,包括了class、线程、Heap内存的查询、操作等等。 这样可以在不改动代码的情况下监控、分析java进程的状态等。 javaagent也常用来实现类似的功能,不过javaagent对应的Instrumentation接口的功能相对有限,可以通过JVMTI获取更多底层功能。
# 开发一个简单的JVMTI工具
JVMTI有两种启动方式。
一种是在Java进程启动的时候通过-agentpath:<path-to-agent>=<options>的方式启动,path-to-agent是对应的jvmti接口实现的so动态库文件的绝对路径,后面可以追加jvmti程序需要的参数。
另一种方式是运行时attach,然后加载jvmti实现的动态库文件。
为了学习JVMTI,我们编写一个打印当前所有已经加载的类的工具,熟悉下整个开发使用流程。
# 创建一个C++项目
在Clion中,选择Create C++ executable,然后修改CMakeLists.txt 增加如下几行,来加入jvmti.h文件的依赖
include_directories(${JAVA_INCLUDE_PATH})
include_directories(${JAVA_INCLUDE_PATH2})
2
然后创建一个cpp文件,命名为jvmti_example.cpp,并在CMakeLists.txt中添加
SET(LIB_SRC jvmti_example.cpp)
ADD_LIBRARY(jvmti_example SHARED ${LIB_SRC})
2
编写jvmti_example.cpp,实现Agent_OnLoad、Agent_OnAttach、Agent_OnUnload。 OnLoad会在通过命令行参数方式启动时调用,OnAttach在attach到目标进程加载时调用,OnUnload在agent被卸载时调用。 我们在attach之后打印出当前所有已经加载的类的签名
#include <iostream>
#include "jvmti.h"

jint printLoadedClasses(JavaVM *vm);

JNIEXPORT jint JNICALL
Agent_OnLoad(JavaVM *vm, char *options, void *reserved) {
    std::cout << "Agent OnLoad" << std::endl;
    return 0;
}

jint JNICALL
Agent_OnAttach(JavaVM *vm, char *options, void *reserved) {
    std::cout << "Agent OnAttach" << std::endl;
    return printLoadedClasses(vm);
}

JNIEXPORT void JNICALL
Agent_OnUnload(JavaVM *vm) {
    std::cout << "Agent OnUnload" << std::endl;
}

JNIEXPORT jint printLoadedClasses(JavaVM *vm) {
    jvmtiEnv *jvmti;

    jint result = vm->GetEnv((void **) &jvmti, JVMTI_VERSION_1_2);
    if (result != JNI_OK) {
        std::cout << "Unable to access jvm env" << std::endl;
        return result;
    }

    jclass *classes;
    jint count;
    result = jvmti->GetLoadedClasses(&count, &classes);
    if (result != JNI_OK) {
        std::cout << "JVMTI GetLoadedClasses failed" << std::endl;
        return result;
    }

    for (int i = 0; i < count; i++) {
        char *sig;
        char *genericSig;
        jvmti->GetClassSignature(classes[i], &sig, &genericSig);
        std::cout << "class signature = " << sig << std::endl;
    }

    return 0;
}
2
3
4
5
6
7
8
9
10
11
12
13
14
15
16
17
18
19
20
21
22
23
24
25
26
27
28
29
30
31
32
33
34
35
36
37
38
39
40
41
42
43
44
45
46
47
48
49
50
# 编译写好的cpp文件
mkdir build
cd build
cmake ..
make
2
3
4
然后可以在build文件夹内看到生成的动态库文件,例如在osx系统下是一个libjvmti_example.dylib的文件。
# 测试刚才创建出来的JVMTI程序
编写一个简单的Java代码, 并通过javac Test.java生成class文件
public class Test {
    public static void main(String[] args) throws Exception {
        while (true) {
            say();
            Thread.sleep(1000);
        }
    }

    public static void say() {
        System.out.println("Hello");
    }
}
2
3
4
5
6
7
8
9
10
11
12
# 命令行启动参数方式
通过java -agentpath:动态库绝对路径
例如
java -agentpath:/Users/liuzhengyang/CLionProjects/jvmti_examples/build/libjvmti_example.dylib Test
然后可以在标准输出中看到Agent OnLoad的输出。
# 动态attach方式
然后使用动态attach的方式加载jvmti程序,先编写一个Java版本的attach工具,其中attach方法的第一个参数是目标进程pid,第二个参数是动态库的绝对路径,第三个参数是agent的参数,当前这个例子不需要参数。
import com.sun.tools.attach.VirtualMachine;

/**
 * @author liuzhengyang
 * Make something people want.
 * 2020/4/19
 */
public class AgentAttacher {
    public static void main(String[] args) {
        attach(pid, "/Users/liuzhengyang/CLionProjects/jvmti_examples/build/libjvmti_example.dylib", "");
    }

    public static void attach(String pid, String agentPath, String agentArgs) {
        try {
            VirtualMachine virtualMachine = VirtualMachine.attach(pid);
            virtualMachine.loadAgentPath(agentPath, agentArgs);
        } catch (Exception e) {
            throw new RuntimeException(e);
        }
    }
}
2
3
4
5
6
7
8
9
10
11
12
13
14
15
16
17
18
19
20
21
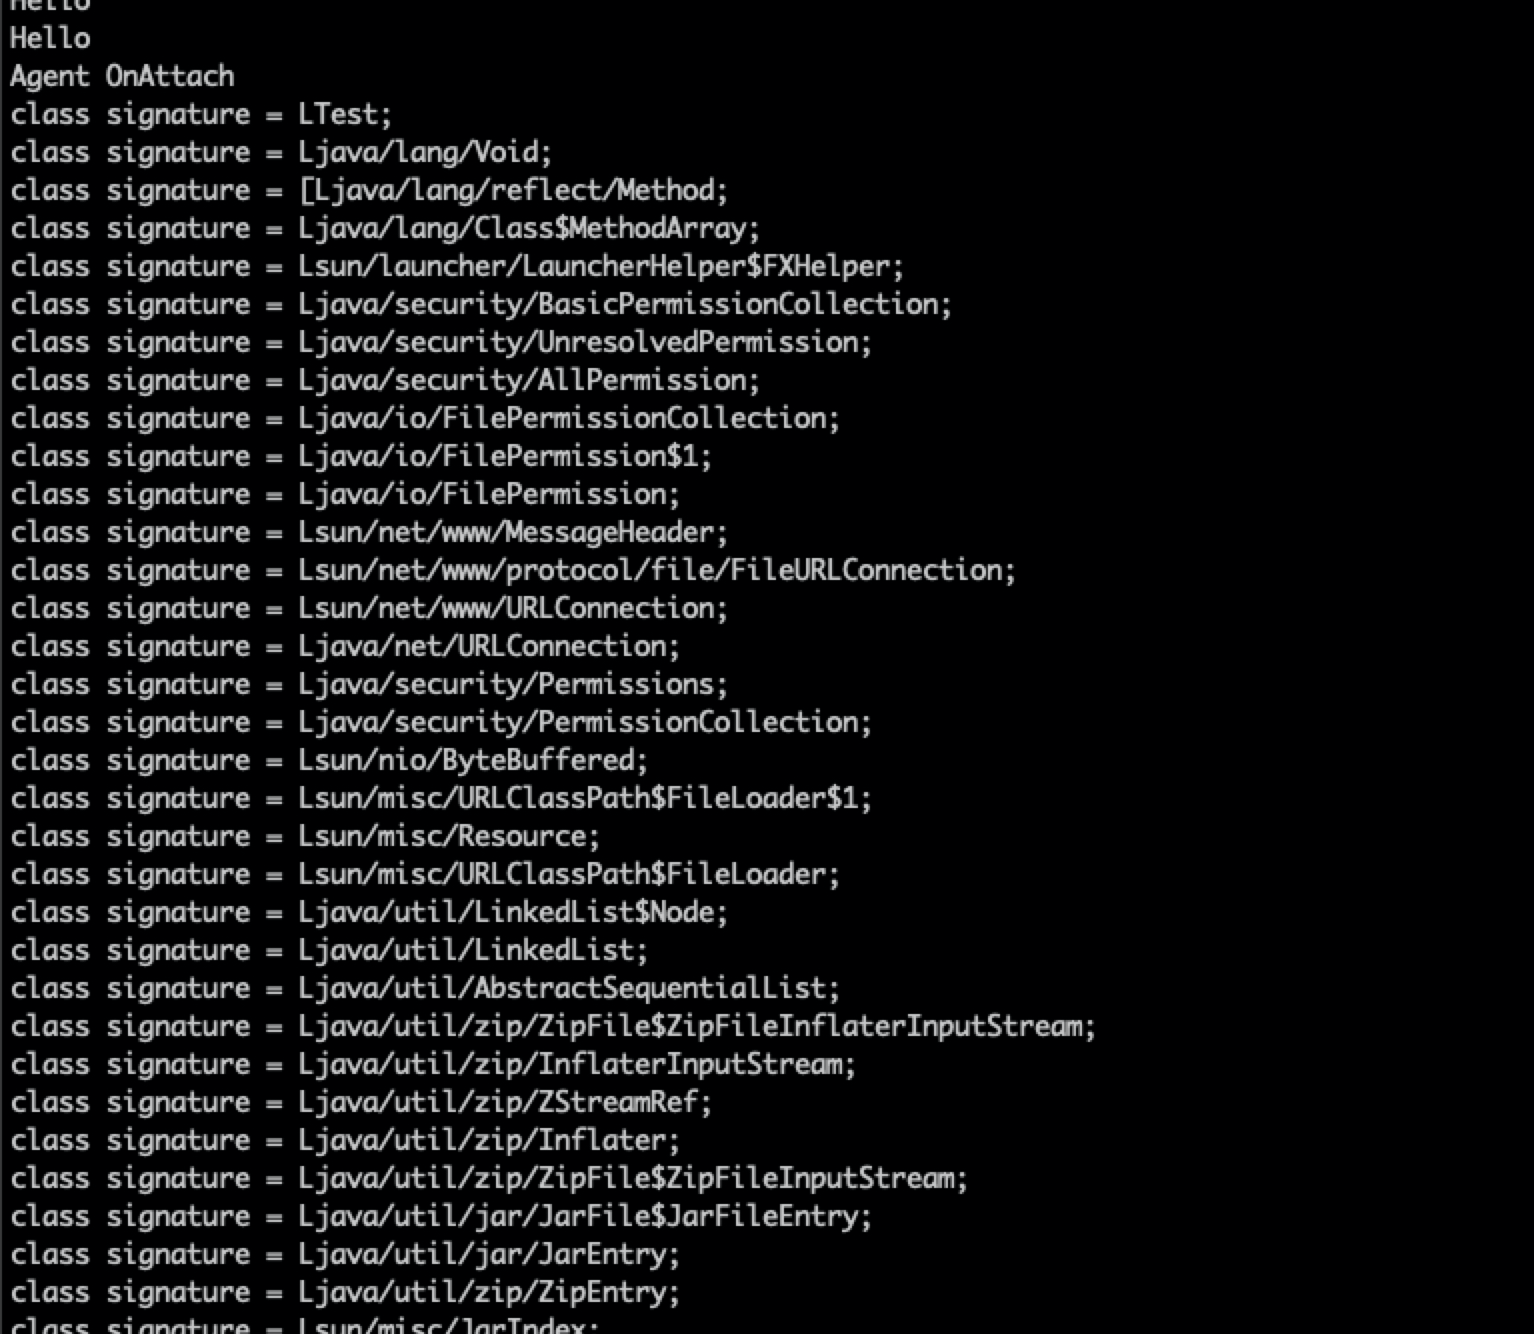
运行这个attach工具,可以在标准输出中看到Agent OnAttach和当前已经加载的类的结果
完整源码在: https://github.com/liuzhengyang/jvmti_examples